The best thing about Facebook is being able to meet the most creative, wonderful, interesting and sincere people. I’m just old enough to think that making friends online is, well, weird. But the last several months have proved me wrong! I’ve met a pocketful of folks that I would have over for coffee and cookies any day of the week. I even think I’d let them see the messy corners and not mind at all.
One of these Lovely People is Rebecca from hoffee and a nuffin (FB) and go here for her website. Please enjoy what she has to share with us and feel free to share you works of arts and crafts on my FB page at MadMadme. Now, here’s hoffee and a nuffin to school us on her newest passion:
My name is Rebecca and I’m a mommy of two boys and a sock monkey maker. ‘hoffee and a nuffin’ is where I share my creative endeavours with you. I am just tickled to have been recently acquainted with Charissa! She asked me if I’d like to help with a DIY rubber stamp tutorial and I thought, “Hey, why not?!” I’m still pretty new to rubber stamp carving, but I’ll tell you… It’s SO MUCH FUN!
You’ll need a few basic supplies:
Carving Rubber (in a pinch a rubber eraser will do!)
Exacto Knife (or other sharp blade)
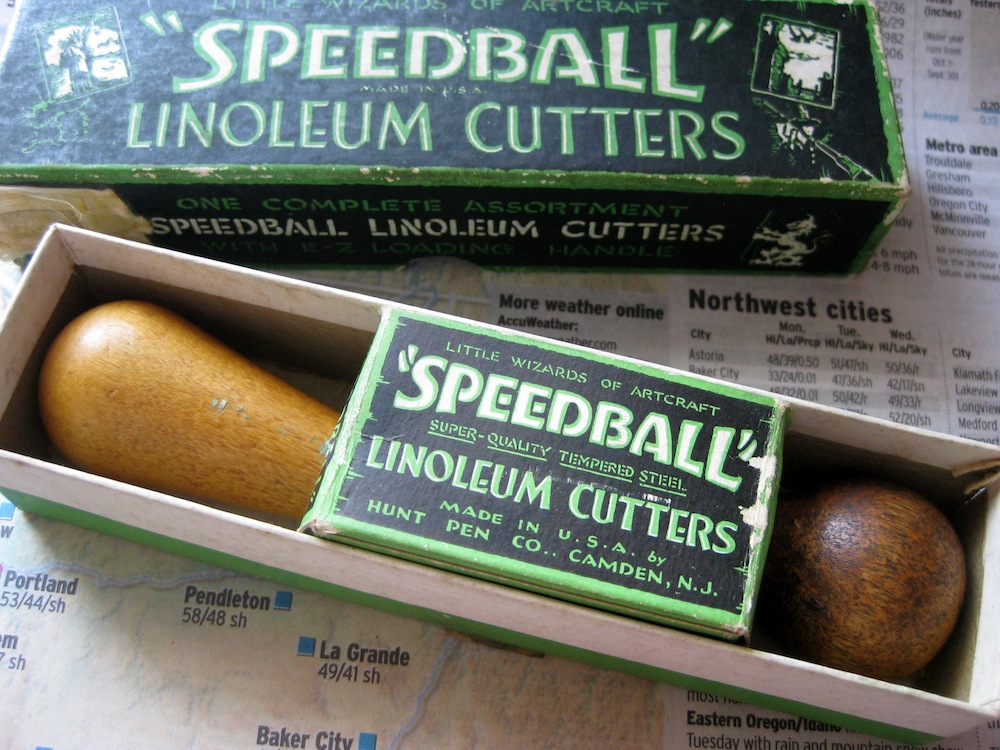
Carving Tools (Speedball Linoleum Cutters)
Design
Glue/Strong Adhesive
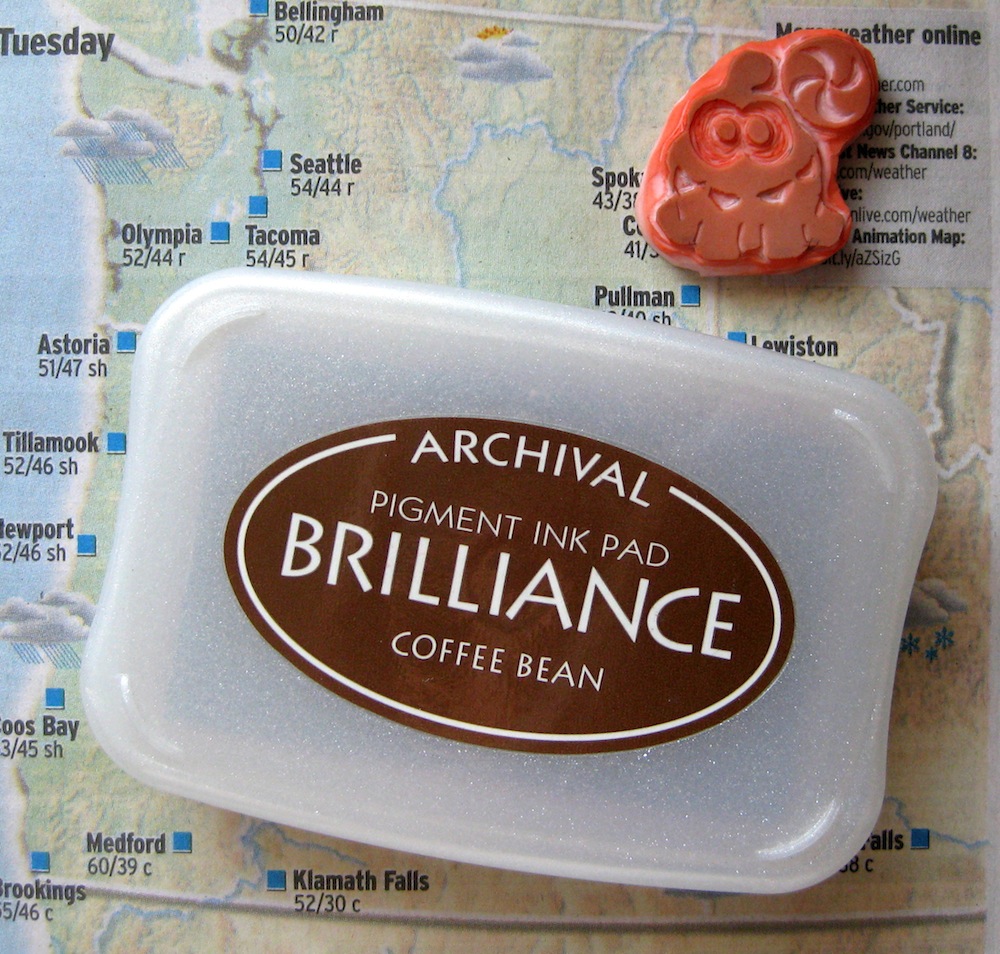
Ink Pad
Patience, confidence, imagination, and a sense of adventure!

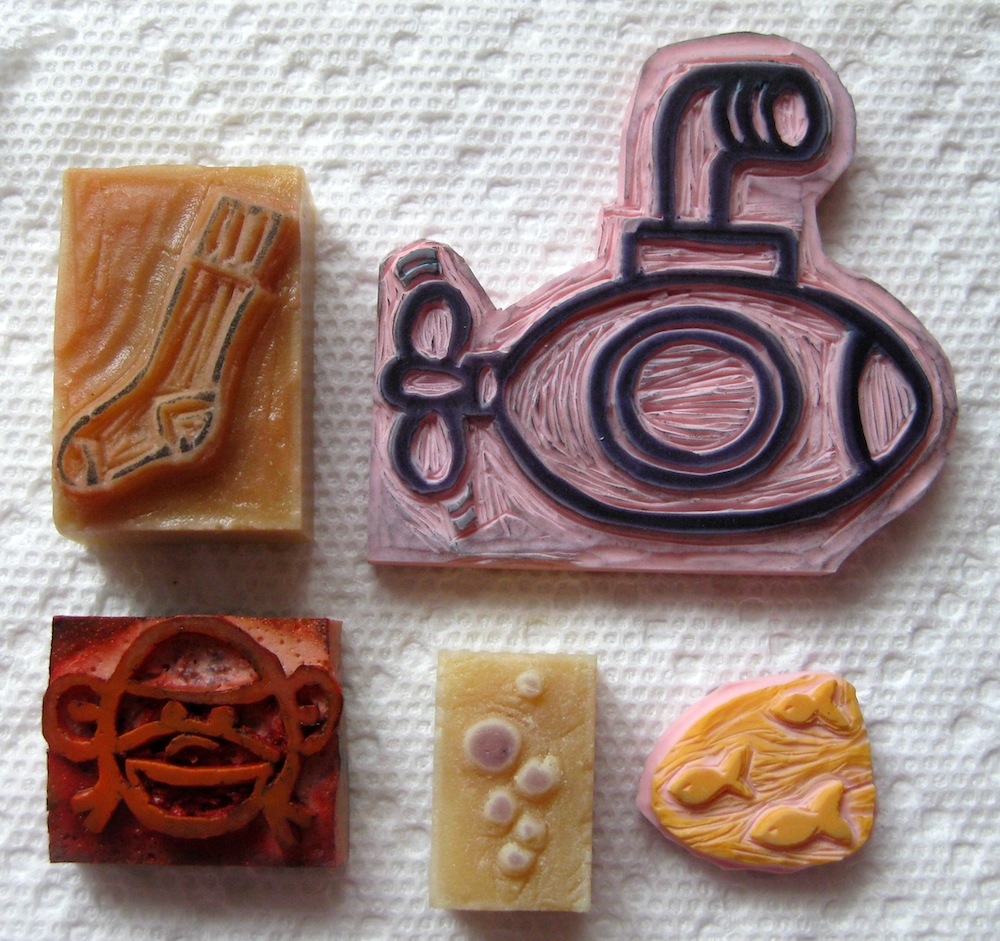
The first step is to decide on a design. You can either draw it directly onto the surface of your carving rubber or you can transfer the image from a sheet of paper by tracing your pattern with a pencil, then placing the image pencil side down onto the rubber and pressing down on it (try not to rub it!) It would be a good idea to place your image near the edge of the rubber so that there isn’t any waste. I should also mention that your design should be the REVERSE of how you want it to look when you use your stamp. It would be very disappointing to carve words the right way to find out later that the stamp is backwards…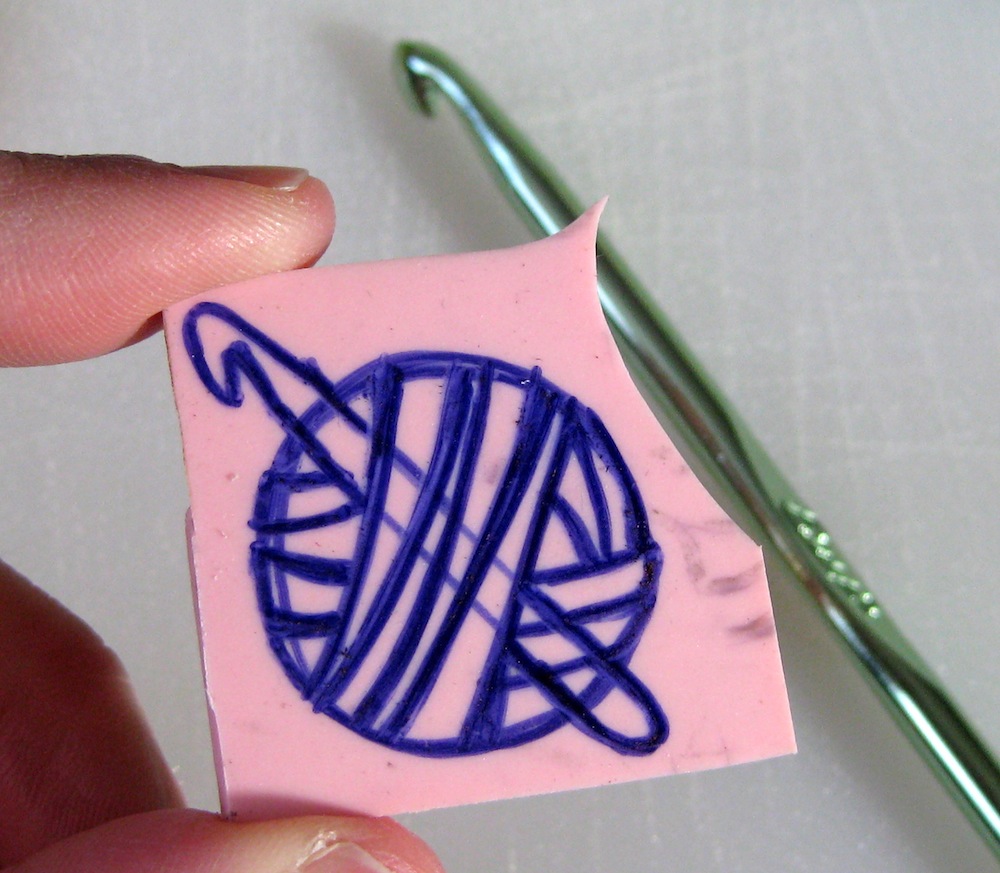 Next, you’ll take your Exacto knife and cut the portion of the rubber with your image away from the block. This will help with carving as your working piece will be much more manageable.
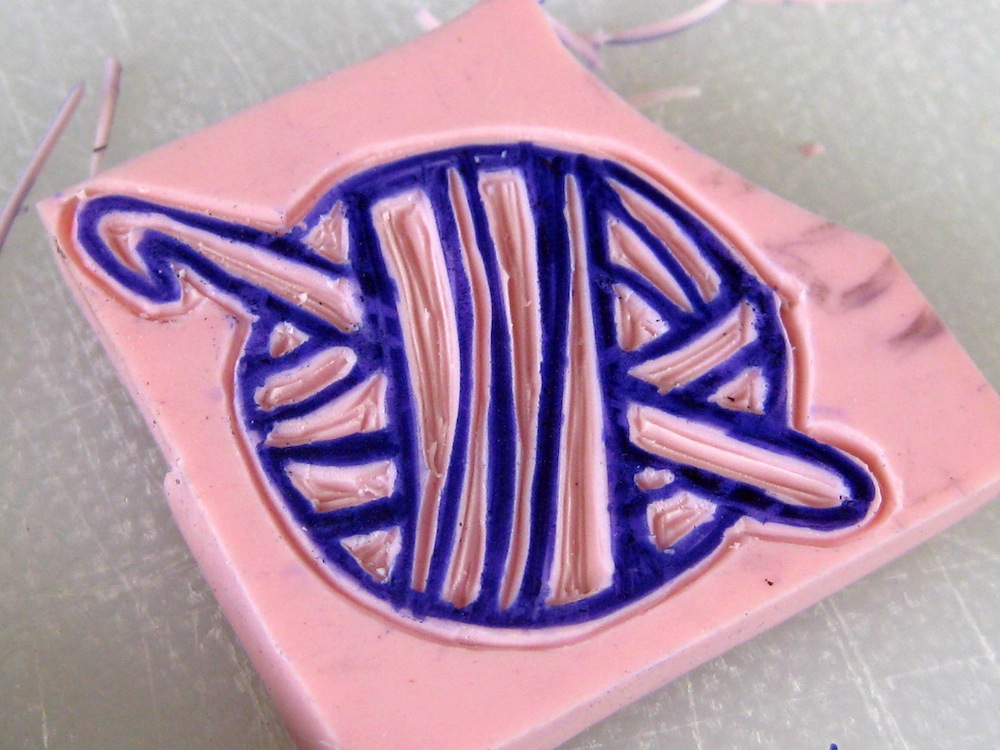
Now you’re ready to carve! What I do is take the #1 cutter and start carving the detail. This is the smallest cutter and it makes sense to me to start small, then work my way up. I start in the center and work my way out. Be sure to only cut away the parts you want to be white in the end. When you’re finished carving, trim away any excess rubber.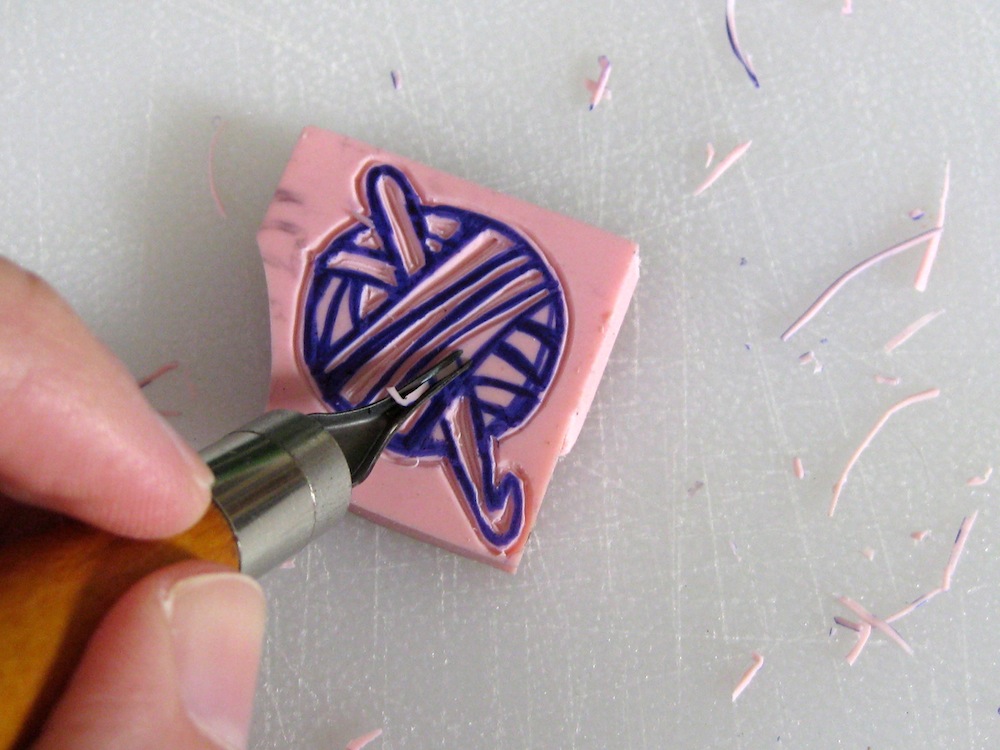
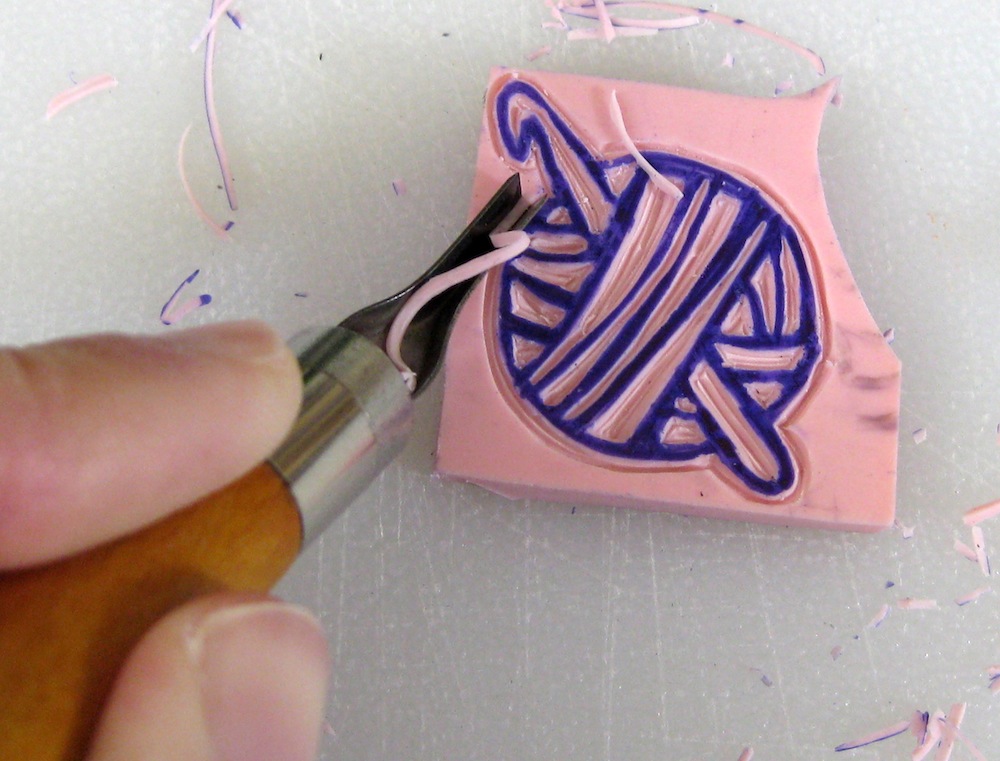
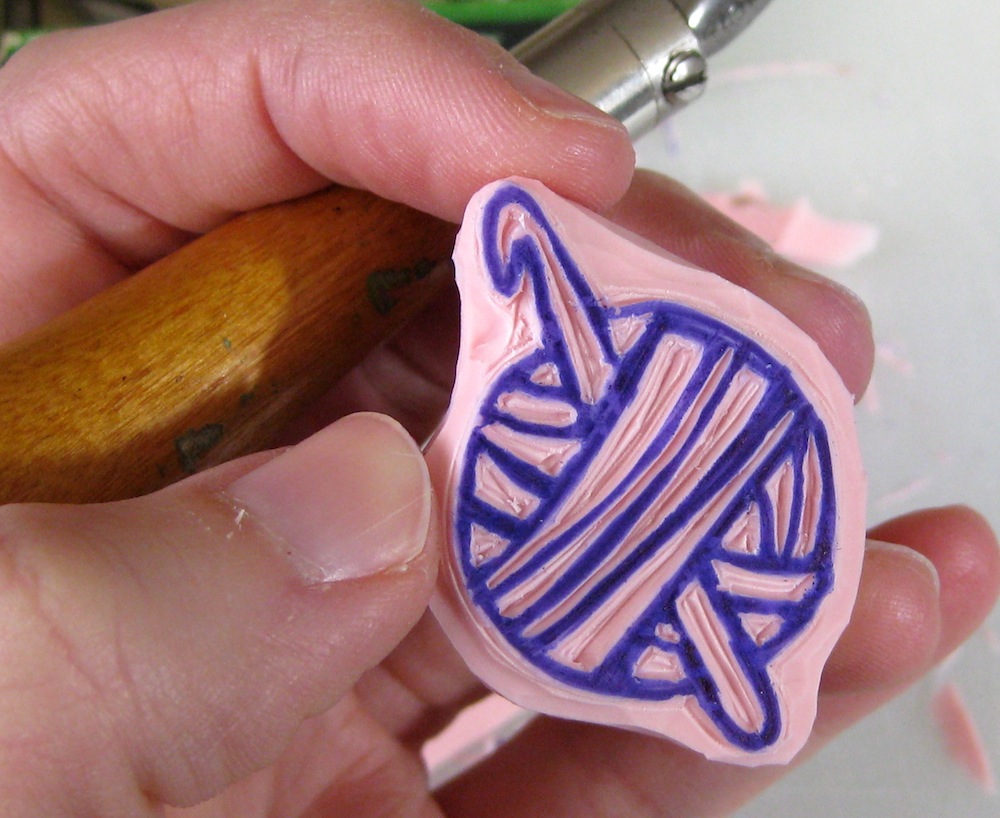 It is a good idea to test your stamp to see if you’ve missed any spots. What’s cool is that you will see any missed spots in your stamped image, then again with the ink still on the rubber itself! Simply trim away anything you don’t wish to have on your finished stamp.
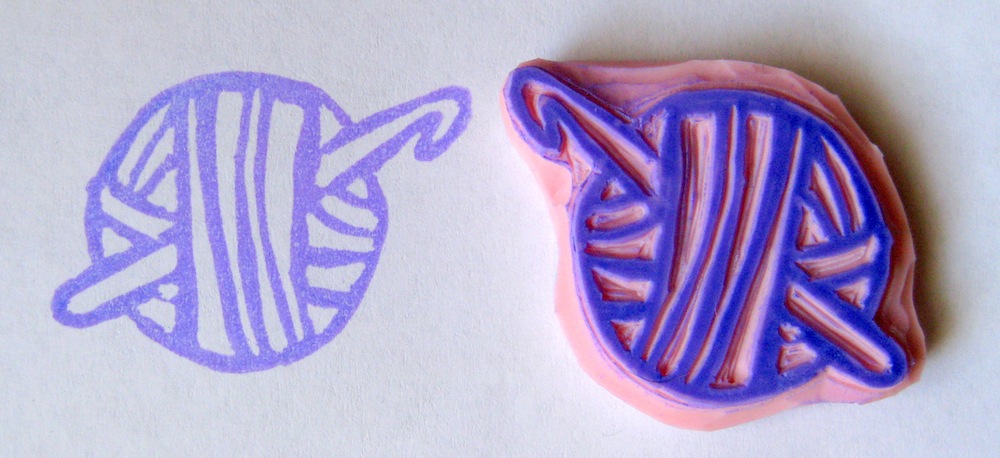 If you have wood to mount it to, this would be the next step. From my experience so far all I can tell you is that I’ve used E6000 to mount my stamps to 1” and 1.5” wood circles (found at Michaels and Joanns craft stores.) So far they seem to be holding up just fine and work pretty well for DIY! I leave you to explore this area for yourself.
 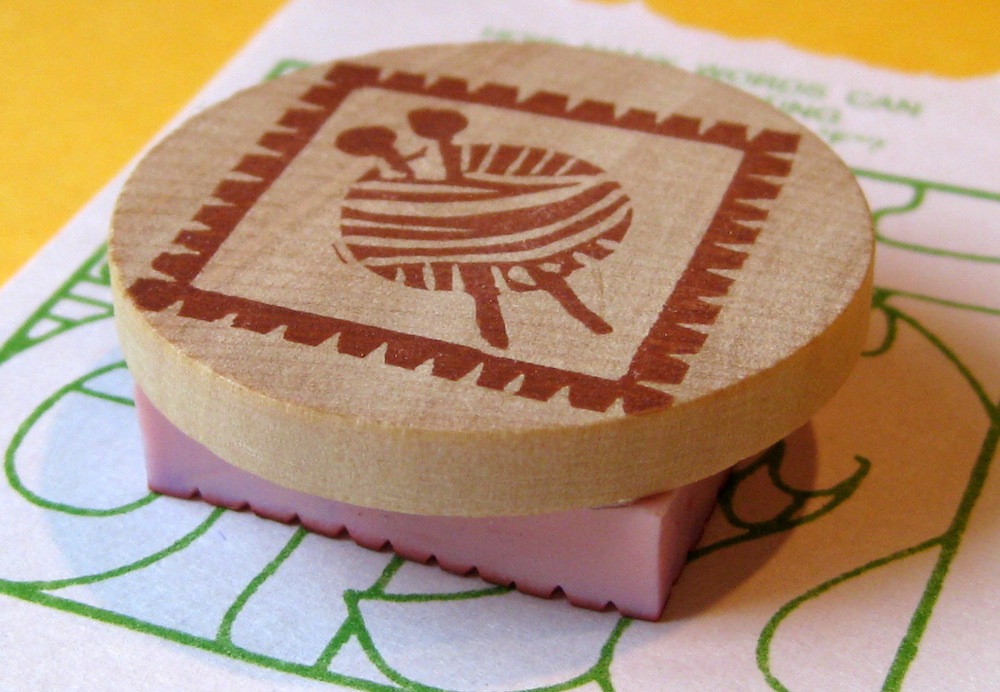 I hope you have as much fun creating rubber stamps as I’ve have been having creating mine. Thank you for allowing me to share this handmade journey with you!
That is pretty awesome!
Isn’t this cool? Makes me way more interested in stamping and paper crafting if I can personalize it in this way.
What a great tutorial! Thank you for sharing 🙂
Thank you, I felt like I found a gen when I found hoffee and a nuffin on FB. I’m glad you enjoyed it.