Have you been over to Blackstone Designs yet?
Sonya has put together an amazing, ongoing event. So far, a bunch of crochet designers have come together to create free patterns for slippers and mittens, and now we have come together to bring offer a whole slew of scarf patterns. All for free!! (Here are my contributions to slipper and mitten events).
The purpose of this event is to inspire crocheters around the globe to create and give to the charitable needs they have access too. Some folks have chosen to give their items to hospitals, retirement homes, homeless folks that live around their corners… you get the picture. Wherever there is a need, especially as the months get colder, we can make and give to fill some of the needs around us and maybe bring some small comforts to folks that think they have been forgotten.
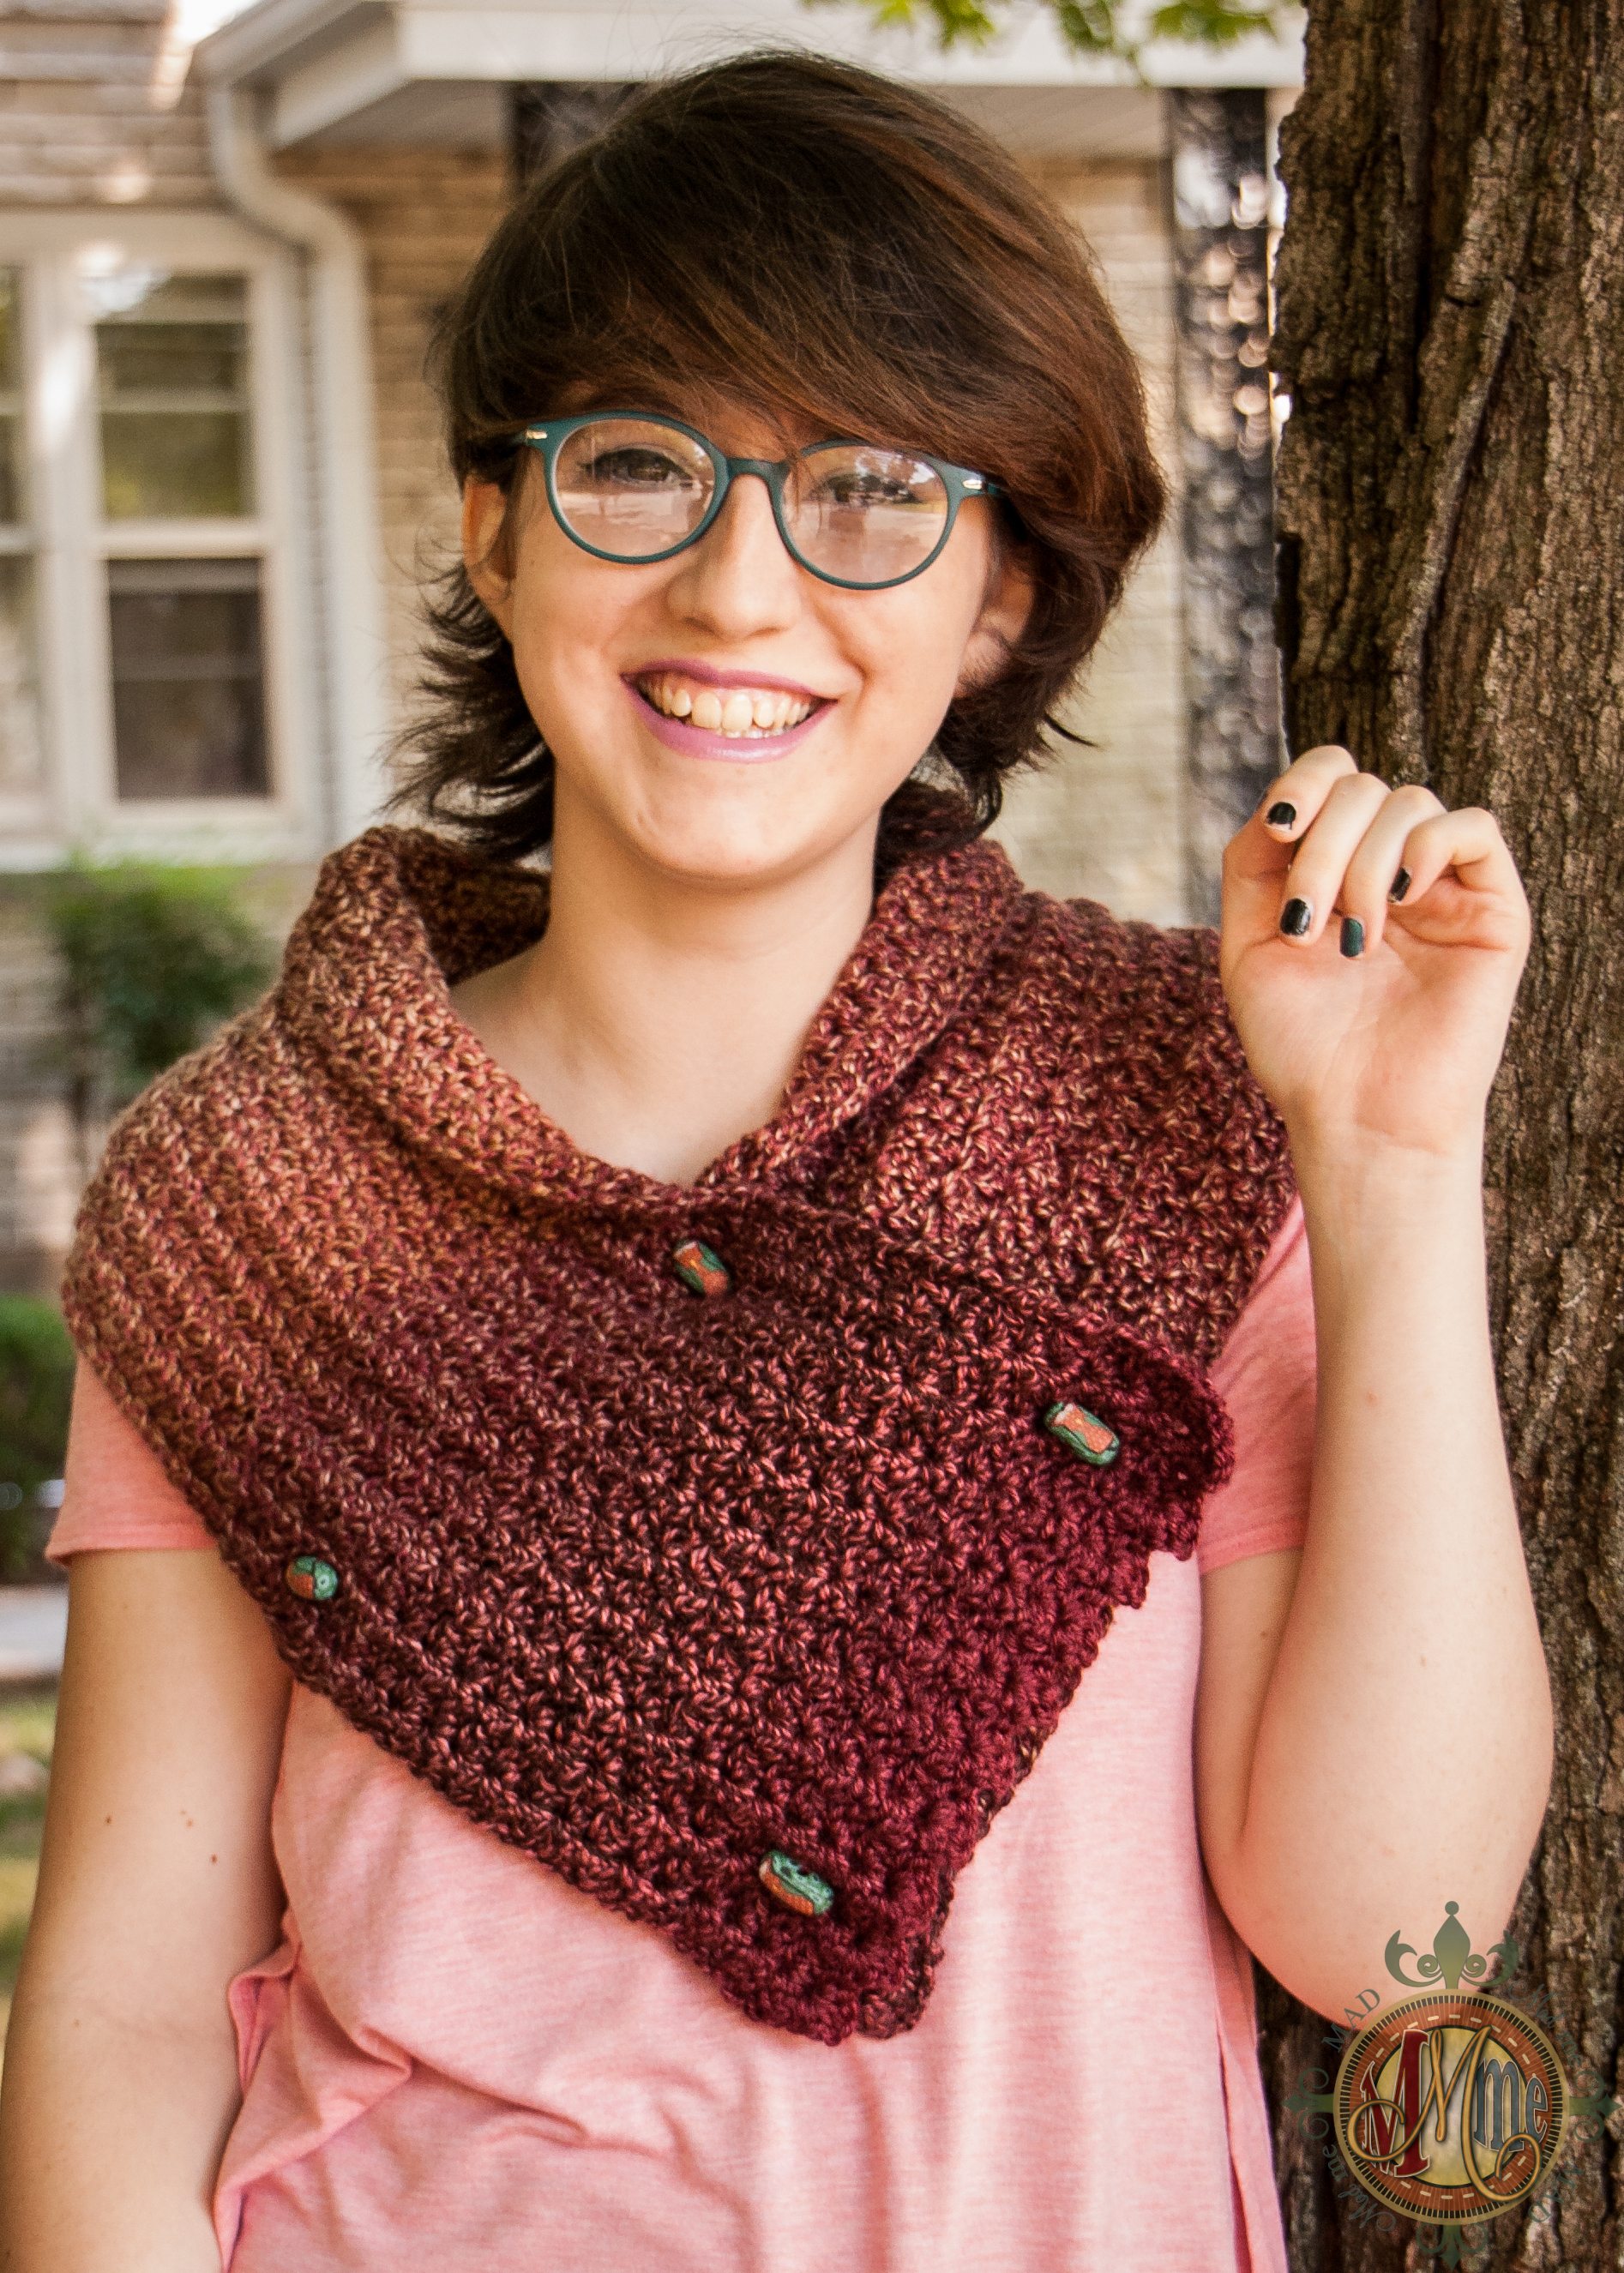
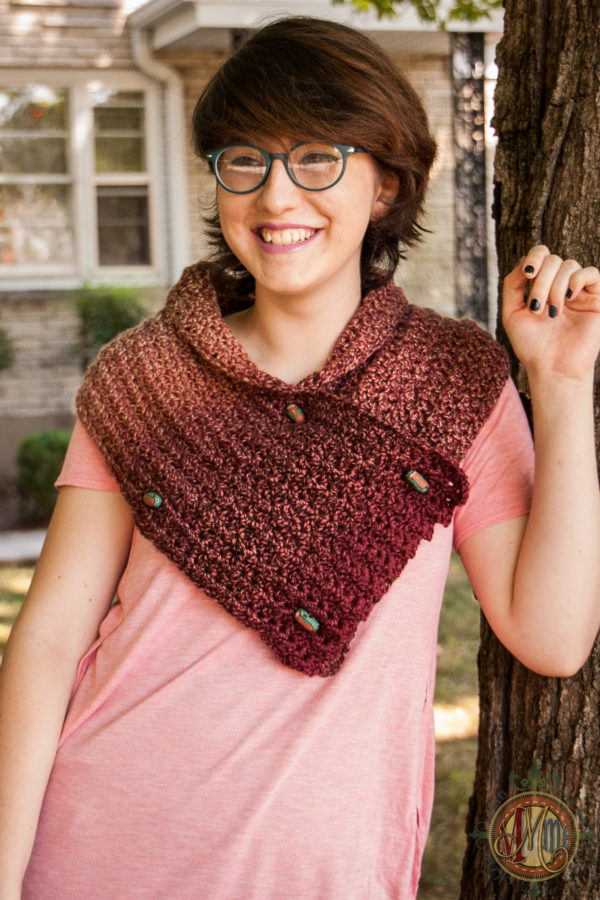
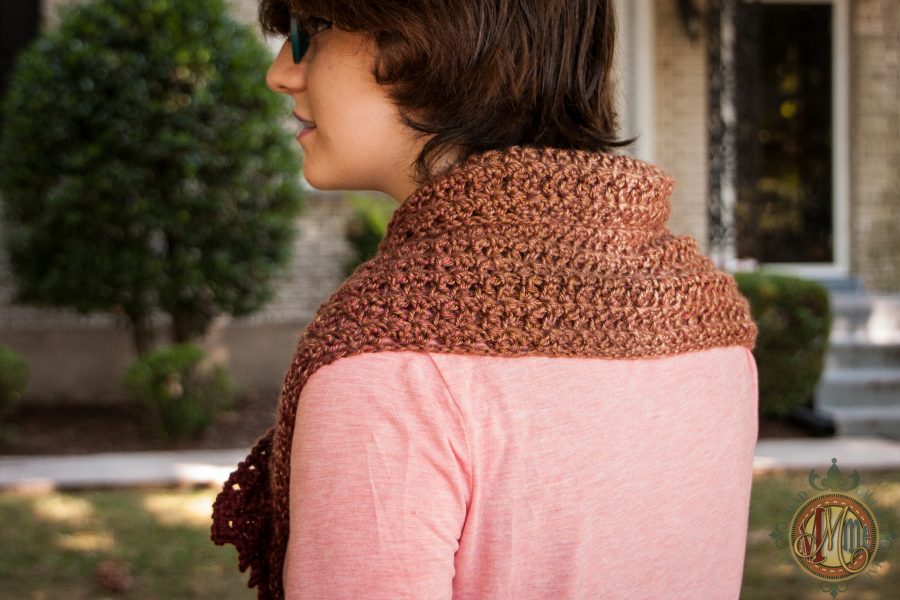
This is the scarf event, and here is my contribution, introducing Forgetful. The top edge can be folded over to make a collar or left unfolded. Of course, this can be worn open like a regular scarf too. And feel free to make it as loooong as you like.

And just for giggles, I made my own clay buttons with my little owl buddies.
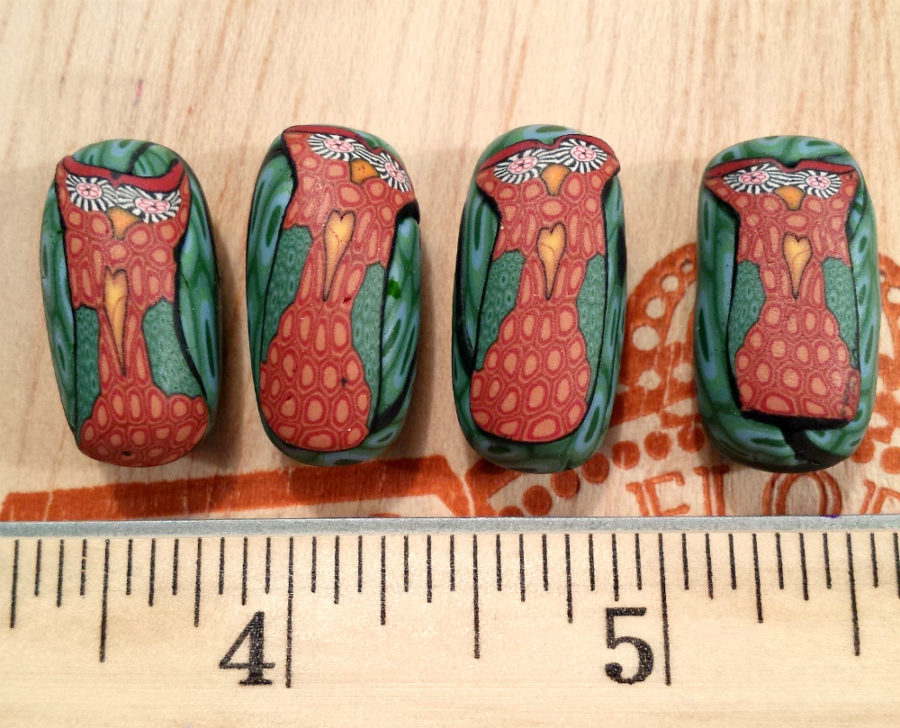
The scarf came out 9 inches wide. I use this information to gauge where to put the buttons on the end of the scarf.
I need to place the toggles within the measurement of the width of the scarf, so that when I fold the end over to button it, all of the buttons will fall in line with the end of the scarf. I measured my 9 inches, and then placed the buttons 1.5 inches inside those measurements.
[one-half-first] 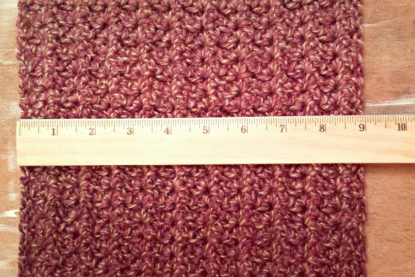 [/one-half-first]
[one-half] 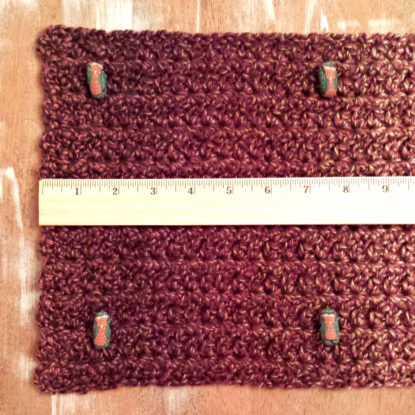 [/one-half]
[one-half-first] 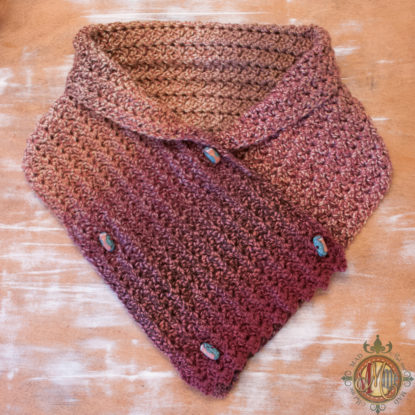 [/one-half-first]
[one-half] 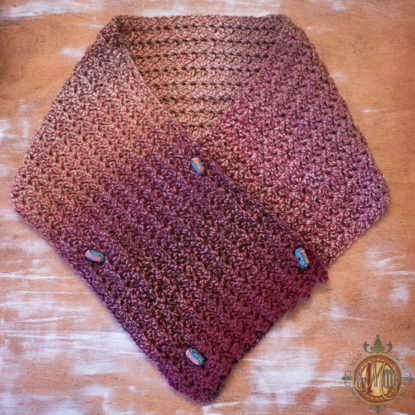 [/one-half]
Written Instructions
I used approximately 300 yards of medium (4) weight yarn and a 5.5mm hook, I tried again with a thicker medium weight, still a 4, and the width was nearly 11 inches across. The yarn you choose will greatly influence the width. The particular yarn I used for this project was I Love This Yarn, and for the life of me I cannot find the label!!!! So I can’t tell you the color, so so sorry.
NOTES: The sample is 44 inches long and 9 inches wide. Feel free to adjust these measurements. Make it longer, make it wider, just enjoy making it.
- Foundation: chain 44, turn
- Row 1: 2sc in fourth chain from hook, ch1, 2sc into next stitch, skip two stitches, (2sc in next, ch1, 2sc in next stitch, skip two stitches) 9 times, sc in next stitch. Chain 3, turn.
- Row 2-97: (2sc, ch1, 2sc in next ch1 space from previous Row, skip to next ch1 space) 10 times, for the end or the Row skip the 2sc from the previous round and sc in next stitch (one of the turning stitches). Chain 3, turn.
- NOTE: Sometimes it can be tricky to find the ch1 space from the backside of the fabric (from turning it at the end of the row). To make this space more visible you can chain 2 here instead, just keep in mind that this extra chain will add some more openness to the end result of the fabric.
- Row 98 or Last Row: same as previous Row but do not chain 3 this time. Instead, finish off and weave in ends of yarn.
That is the scarf! Very simple, but creates a nice textured ridge. When using a changing colorway yarn, you can add interest to the texture and create something very elegant.
As seen in the photos above, I added buttons to make the scarf lay flat and fuss free while wearing.
You are welcome to subscribe to my newsletter if you would like to continue to receive free patterns, information on premium patterns and clay work as well as deep discounts on new items. Thank you! All Subscribers are also automatically entered into all Mad Mad me giveaways as long as they remain subscribers.
[newsletter]