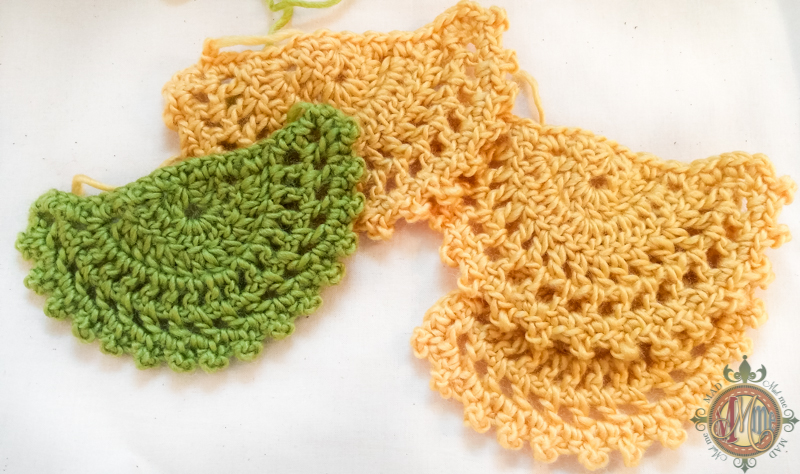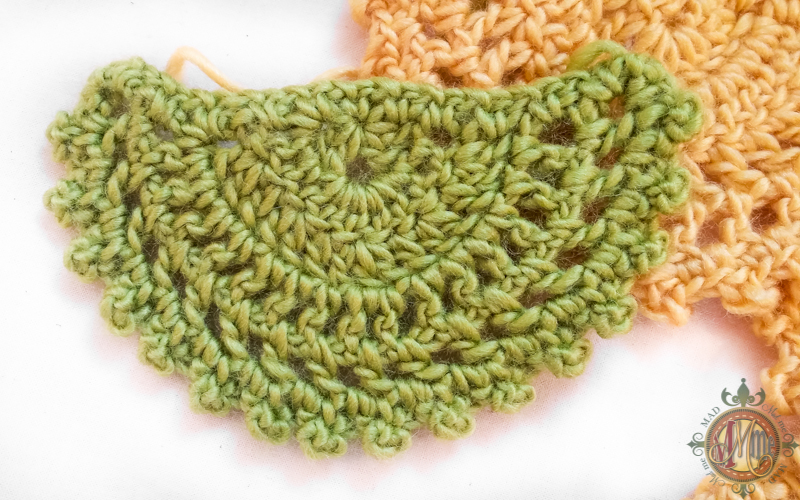
Hello! I’m so glad to be able to share something pretty with you today. To be honest, the last few days I’ve been feeling pretty blah, and unmotivated. As a matter of fact, last night, I was so grumpy my husband put me to bed, offered me crochet and chocolate and things started to look up from there. He’s a sweet guy, and never gets bossy with me, so I thought it was pretty funny and he knew that I needed some crochet therapy.
I guess he’s some sort of genius because once I started making these little cuties I couldn’t’ stop and immediately felt better about my day. I’ve pulled a bunch of yarn for these and I’m going to make up about 60 of them so I can made about three garlands. I know I’ll want to keep one myself and I have two friends in mind for the others.
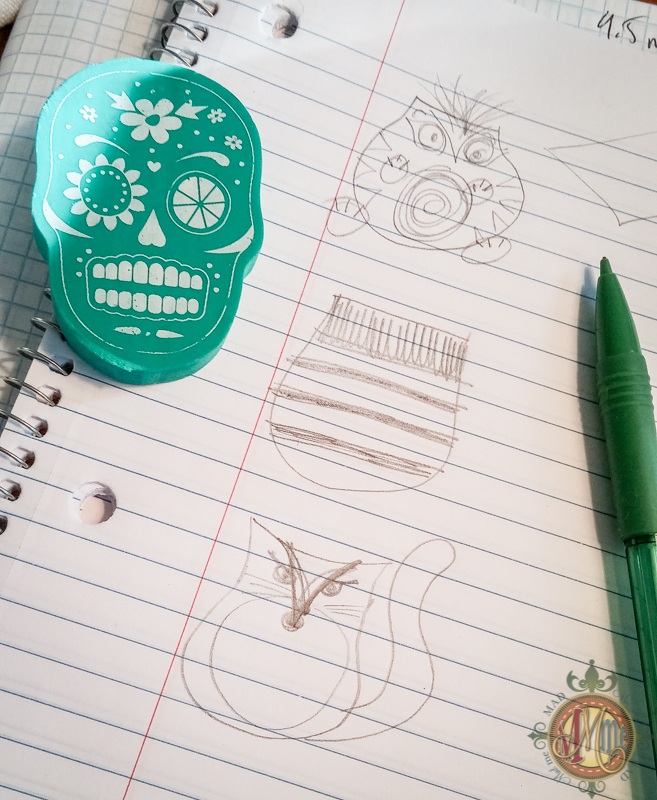
Below you will also see the childish drawings of what goes on in my brain, yes, it’s a monster circus in here. Feel free to join me anytime. I’m going to be adding more animals to the Mad Menagerie pattern but I just don’t know which one to add first. And below that, you will find instructions on how to make the crochet therapy fans. Like the name?
Crochet Therapy Fan Instructions
I used a 4mm hook for these, and Sheepish yarn from Vickie Howell. I suggest using a smaller hook size than the yarn recommends so your fans are not large and loose, for more compact and defined stitches I went a full 1.5mm smaller than the recommended hook size for this yarn according to the label.
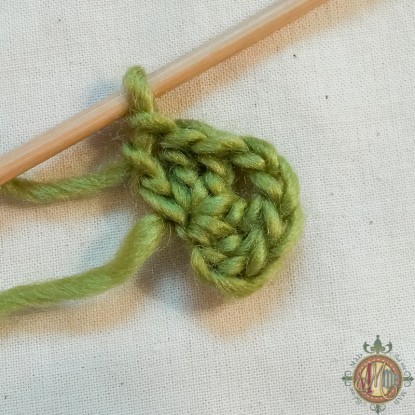
Row 1- Start with an adjustable ring, pull up a loop, chain3, 2Dc into ring + ch2 + 3Dc into ring. Pull ring closed but not too tightly! (You need to insert your hook into there later).
Row 2- Chain 2, turn, 1Dc in next two stitches, 5Dc into ch2 space, 1Dc into next three stitches, ending in top of chain 3 from previous Row.
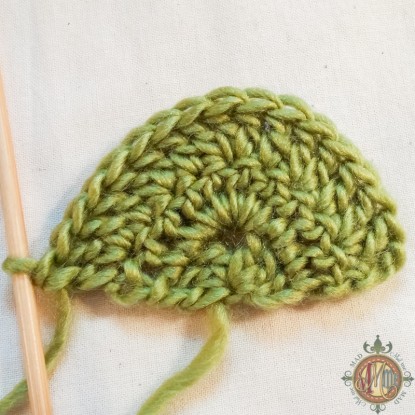
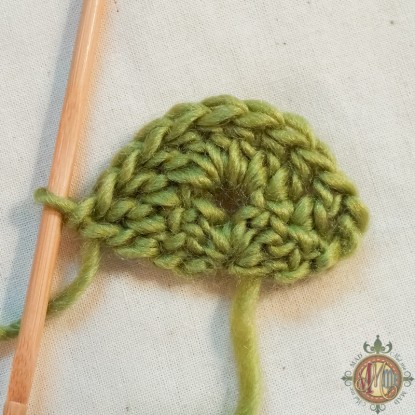
Row 3- Chain 2, turn, [2Dc into next stitch, 1Dc in next stitch] 2 times, 3Dc in next stitch, [2Dc into next stitch + 1Dc in next stitch] 3 times, ending in top of ch2 from previous Row.
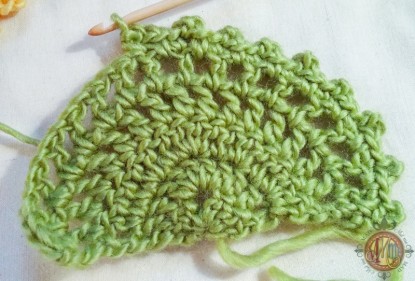
Row 4- Chain 3, turn, [1Dc + ch1 in next stitch] 15 times. 1Dc into top of ch2 from previous Row
Row 5- Chain 2, turn, [1Dc + ch1 into ch1 stitch space] 16 times, sc into top of ch3 from previous Row
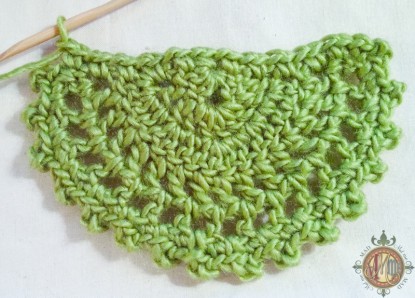
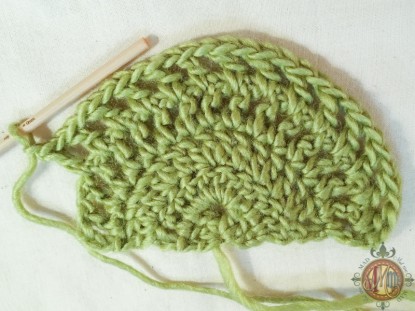
Row 6- Chain 2, turn, [sc into next space (the space between the posts), picot (I used a 3 chain picot), sc in top of next stitch] 16 times
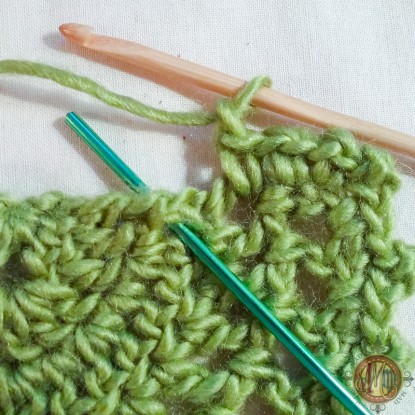
Flat Edge- With flat edge facing up, you will now work along that edge to give is a nice finish and to give yourself a nice neat row or stitches for attaching them to whatever it is that you are making. Chain 1, sc around post of first stitch along the edge, ch1, sc around post of next stitch along the edge, continue across, when you get to the center, sc into the adjustable ring. It will follow this pattern: [ch1 + sc around post] 5 times, ch1 + sc into ring, [ch1 + sc around post] 5 times, ch1, join to first stitch in Row, finish off. (This is a great place to use the Invisible Finish).
Below are some helping photos:
[one-half-first]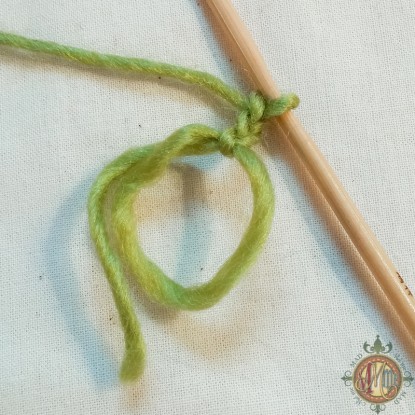
[/one-half-first]
[one-half]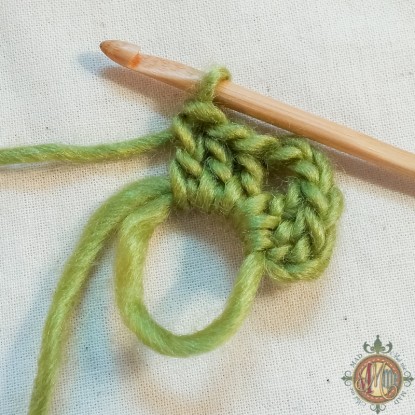
 I’ll be showing how I string them together in a following post, I just need to make a lot more first! Enjoy!
(The yarn here is Sheepish from Vickie Howell but I will be making them with Red Heart Unforgettable as well since I really enjoy variegated yarn).
[/one-half]
You are welcome to subscribe to my newsletter if you would like to continue to receive free patterns, information on premium patterns and clay work as well as deep discounts on new items. Thank you! All Subscribers are also automatically entered into all Mad Mad me giveaways as long as they remain subscribers.
[newsletter]

